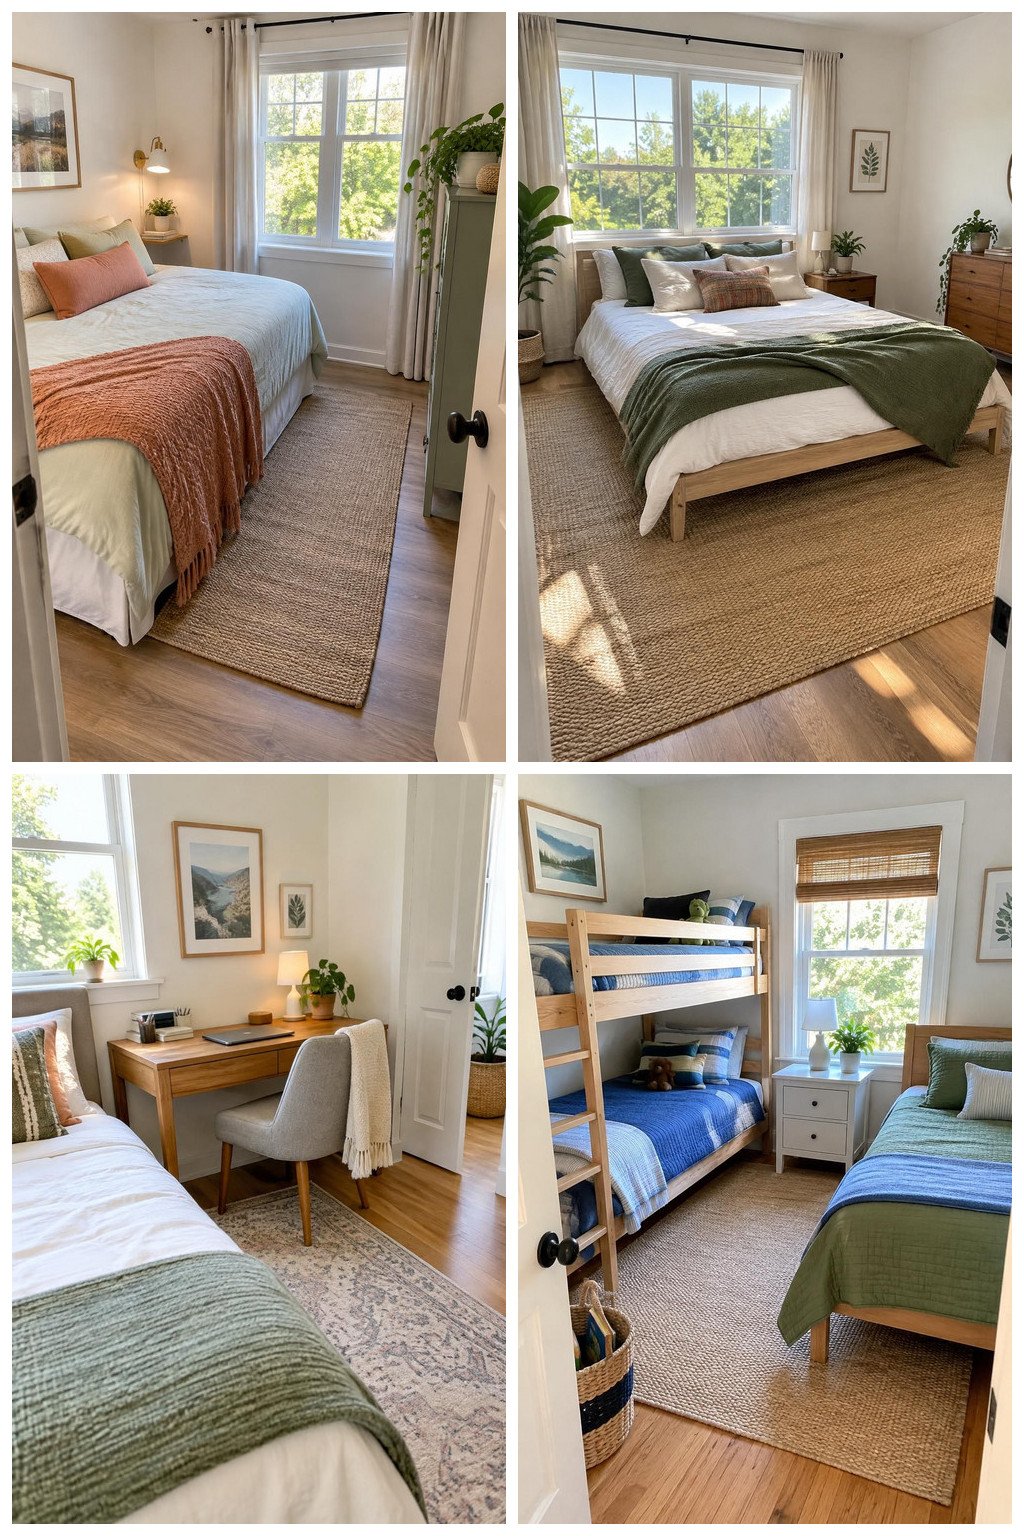
Your bedroom can look balanced and still leave you squeezing past the bed to reach the closet or open drawers. Choose the bed position that keeps the entry, closet, and essential storage usable; symmetry comes second. These 12 bedroom layout ideas help you match furniture and walking routes to your room’s shape and openings. Before moving anything, mark each piece’s footprint and the door swings, then trace your route to the closet; HUD’s example plans suggest 42 inches in front of a dresser or closet, but that is guidance for those example furnishings, not a universal requirement.
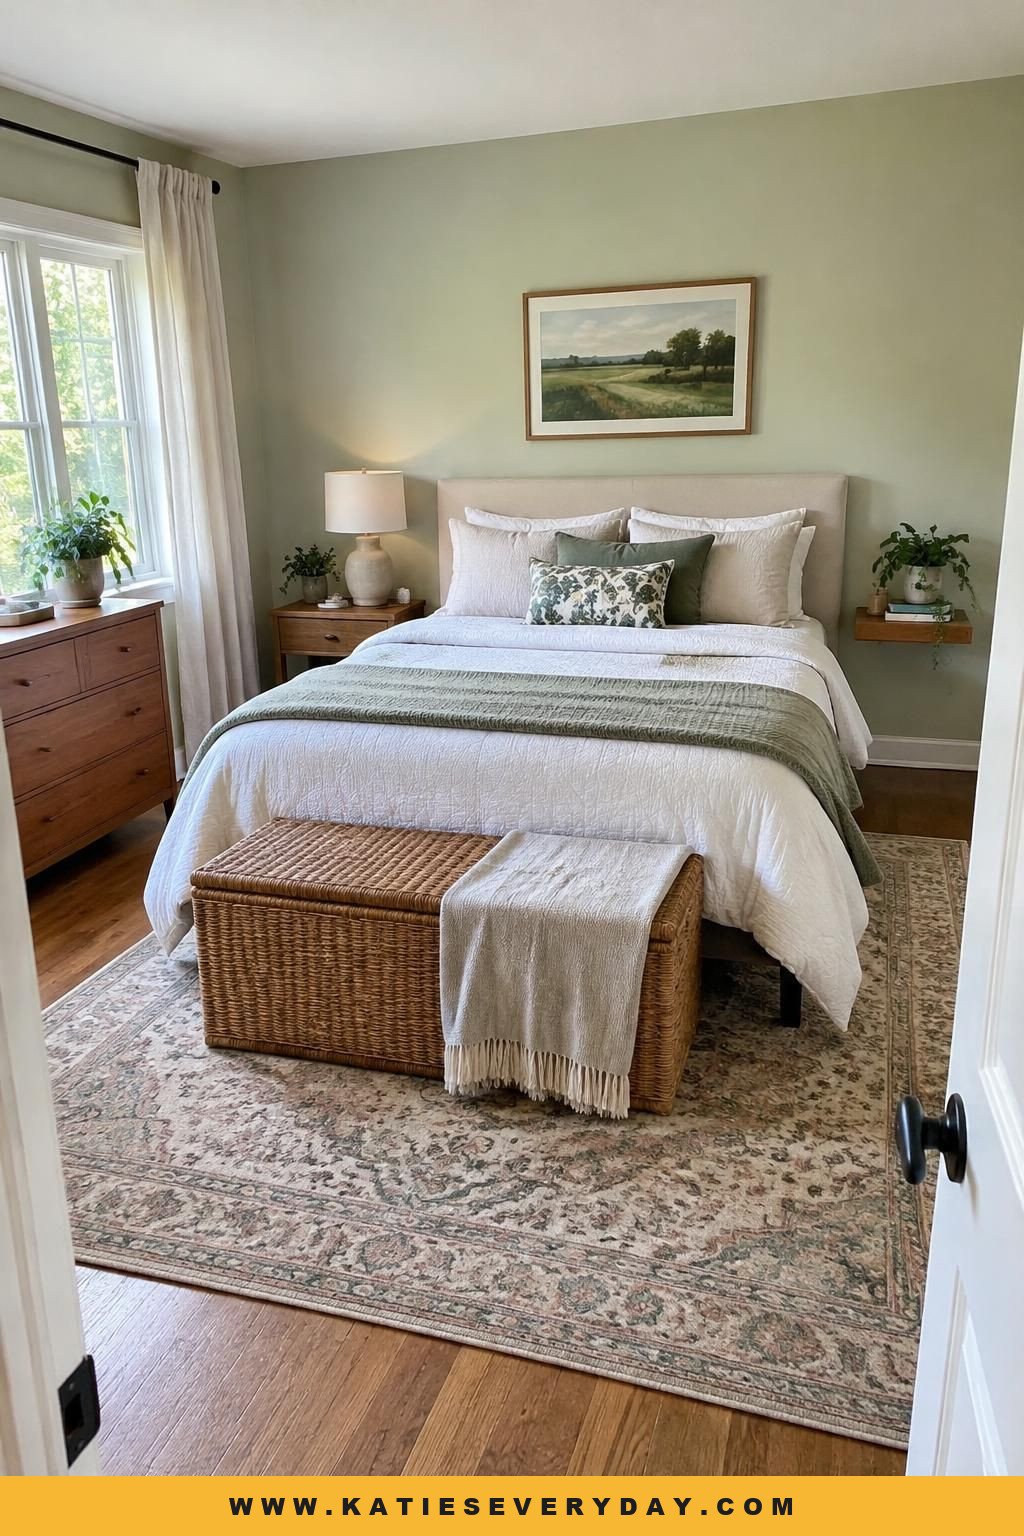
1. Center the bed on the clearest wall
Place the bed in the middle of the most usable uninterrupted wall, with a bedside surface on each side if space allows. This gives the bed a clear focal point and leaves a route along both sides when the room is wide enough. In a rectangular room, pair a full-size nightstand with a narrow shelf on the tighter side. Keep the dresser on another wall if you can open its drawers without blocking the path around the bed. Skip exact centering if the bed blocks a closet, overlaps a door swing, or cuts across your main route.
2. Put the bed across the short end of a long room
Set the headboard against a short wall, then use the remaining length for storage or a dressing area. Grouping the bed and bedside tables at one end helps divide a long, narrow room into useful zones. Place a dresser at the far end only if you can still walk from the entry to the closet and open the drawers. Check the space at the foot of the bed, too: if passage or dresser access becomes awkward, this layout uses the room’s length poorly.

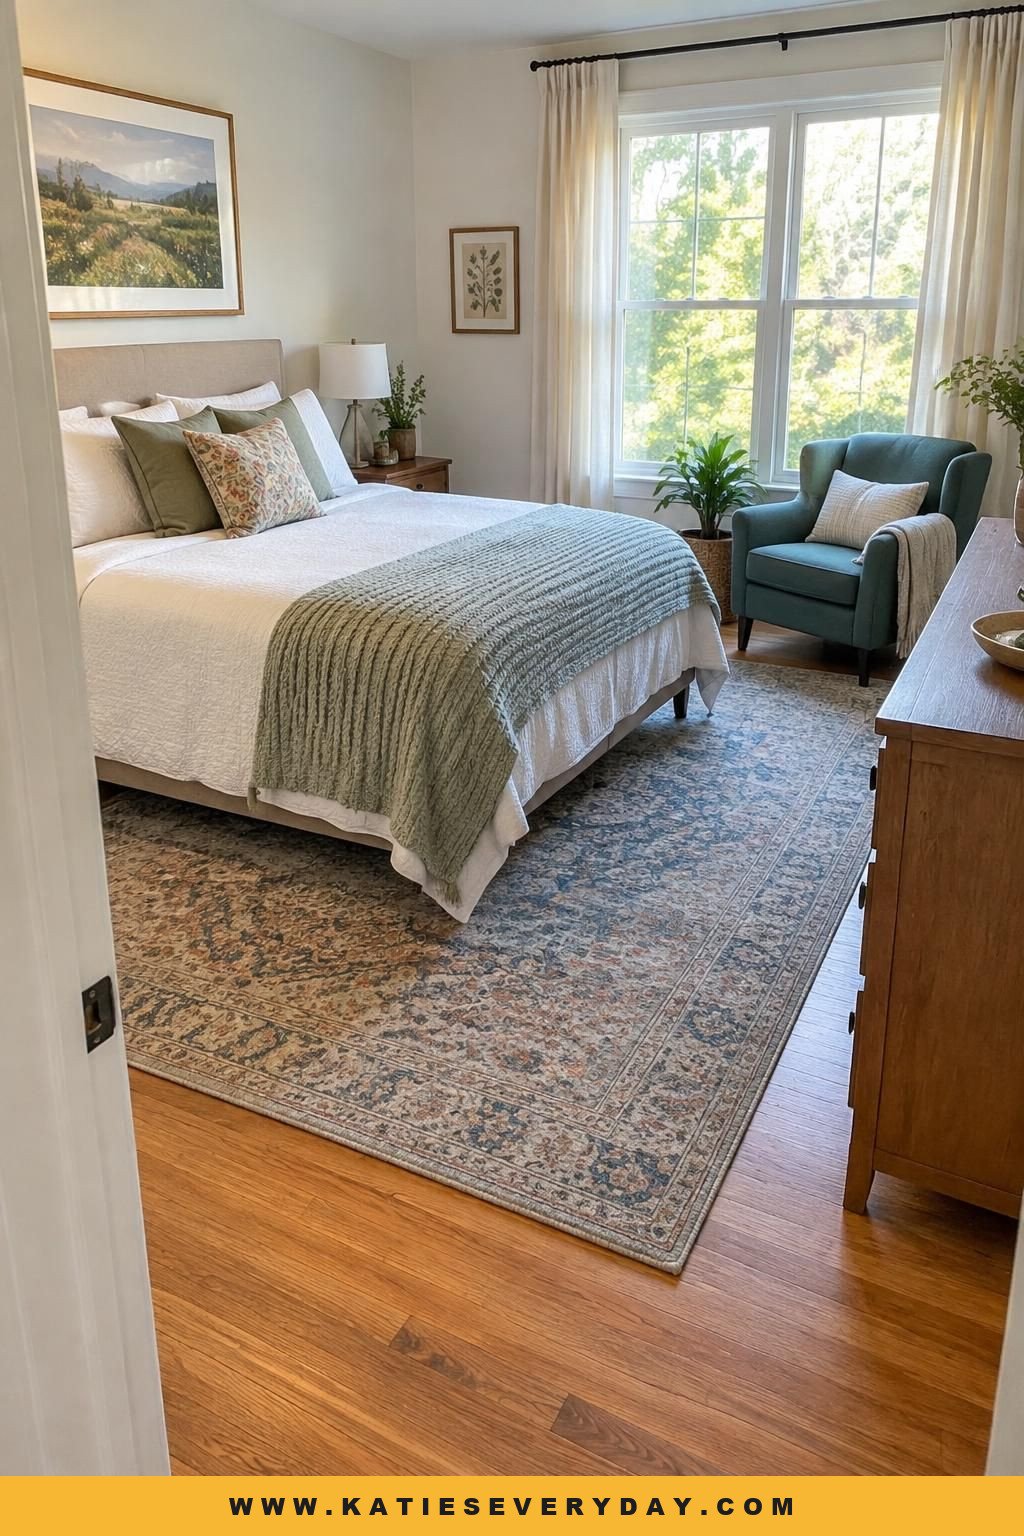
3. Balance furniture in a square room
Center the bed on one wall, then distribute the dresser, chair, or other storage across the remaining walls instead of crowding everything onto one side. In a square or nearly square room, this can balance the larger furniture pieces while keeping a route around the bed. Try the bed and dresser first; add a chair only if you can still move between the entry, bed, and closet without weaving around it. Don’t block a window or useful walking route just to make both sides match.
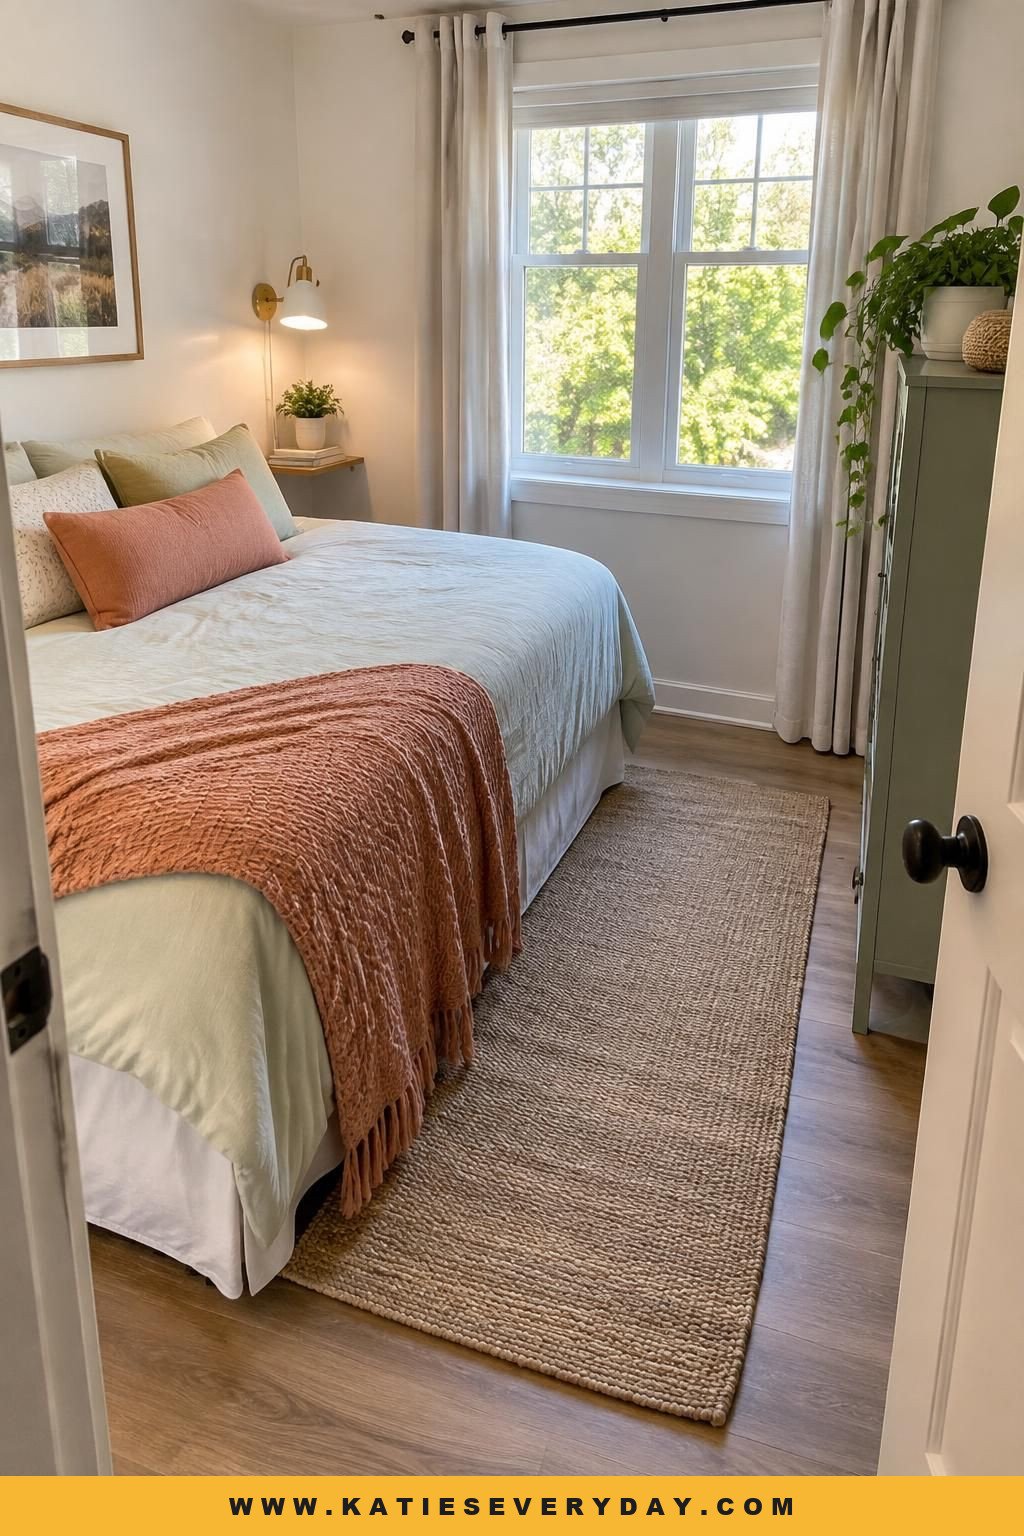
4. Tuck one side of the bed against a wall
In a very small room, push one side of the bed against a wall and keep a single bedside surface on the accessible side. You give up one walking route, but gain floor space for storage or a clearer path from the entry. A wall-mounted shelf and light take up less floor space than a bulky nightstand. The trade-off is significant: if you share the bed, the person sleeping against the wall must climb over their bed partner or get out at the foot. Choose this layout when two-sided access isn’t a priority, such as in a solo-sleeper or guest room.
5. Place a low-profile bed under a window
If the room has no better bed wall, center a low-profile bed or low headboard beneath the window. This makes a difficult wall part of the room’s focal arrangement and leaves other walls available for storage. Check that you can still reach and operate the window coverings, and that the bed doesn’t obstruct an air conditioner or another essential use of the window. If you can’t use the window comfortably after placing the bed, choose a different layout.

6. Offset the bed to make room for storage
Shift the bed toward one side when centering it leaves two cramped gaps, then use the larger open zone for a dresser, vanity, or chair. This can work well when a window, doorway, or built-in feature sits off-center. Put the dresser in the wider space if you can keep the entry-to-closet route open. Balance the arrangement with a lamp, mirror, or artwork rather than insisting on identical nightstands. Give the extra space a clear purpose, or the bed may look misplaced.
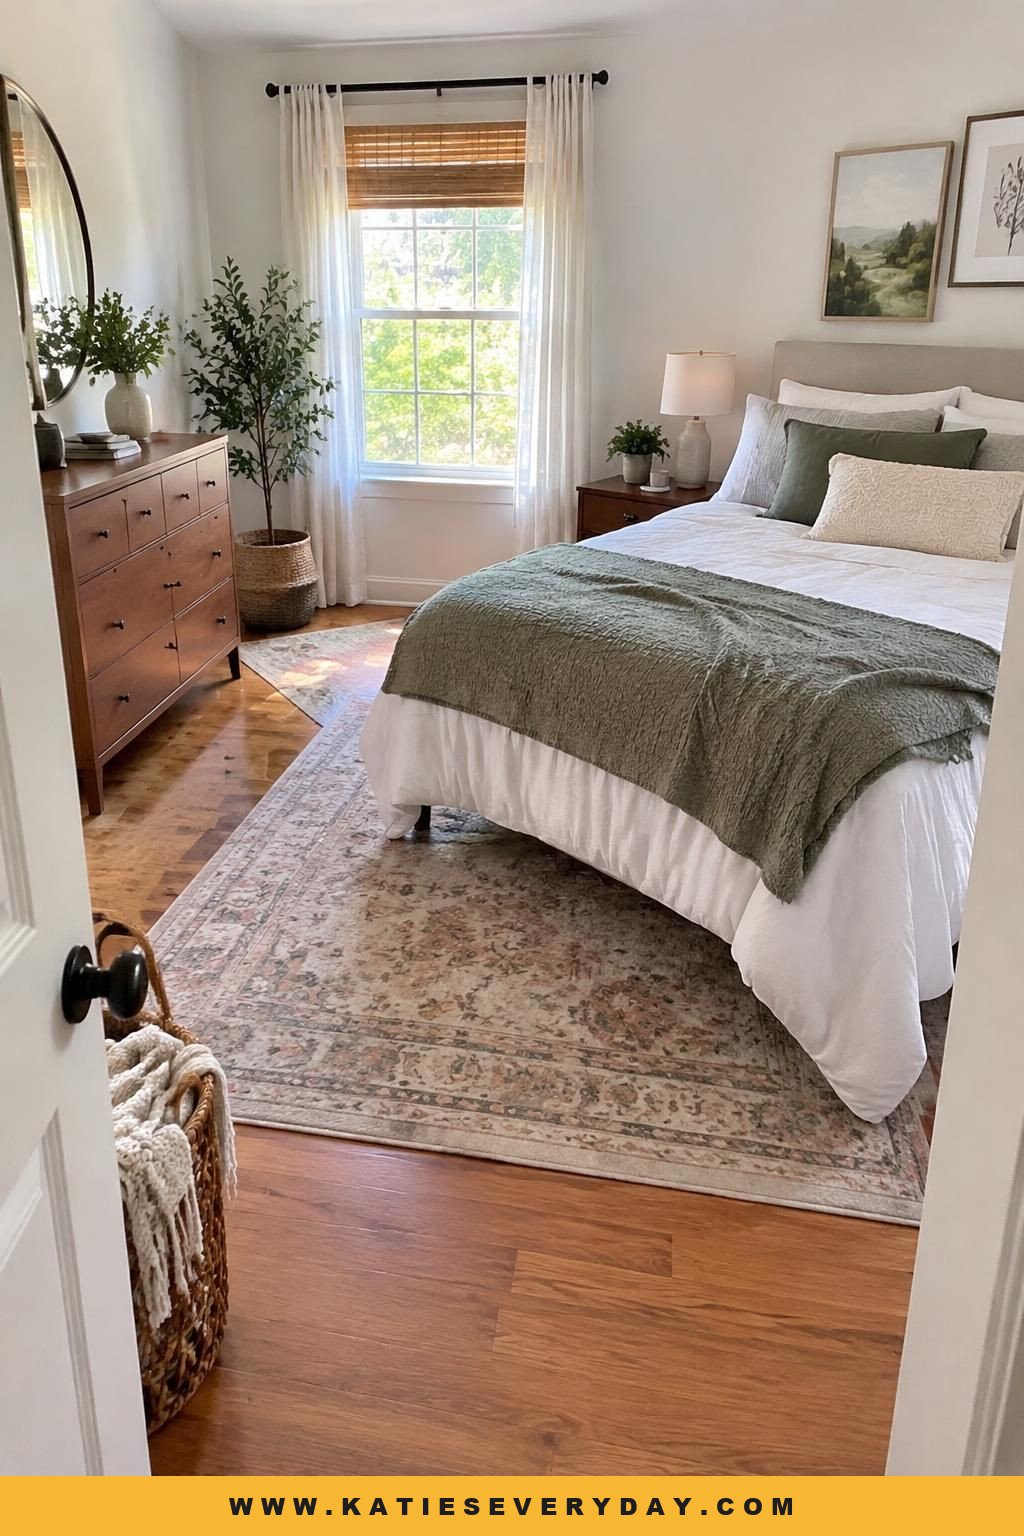
7. Fit the bed into a niche with shallow bedside surfaces
Place the bed in an alcove or recess and use compact shelves or shallow nightstands that fit within it. The niche frames the sleeping area, while smaller bedside surfaces are less likely to crowd the opening. Check more than the bed frame’s fit: make sure you can reach the mattress and pull back the bedding. If the recess feels too tight to approach comfortably, don’t use it just because the bed fits.

8. Plan around the door and closet first
Mark the entry-door swing and closet opening before choosing a bed wall. Place the bed where both remain usable, even if that means giving up a centered arrangement. On your sketch, show the doors in their open positions and the fronts of the closet and dresser, not just the furniture footprints. Then trace your route from the entry to the closet. Preserving the door swings isn’t enough if you still have to squeeze around the bed to get there.
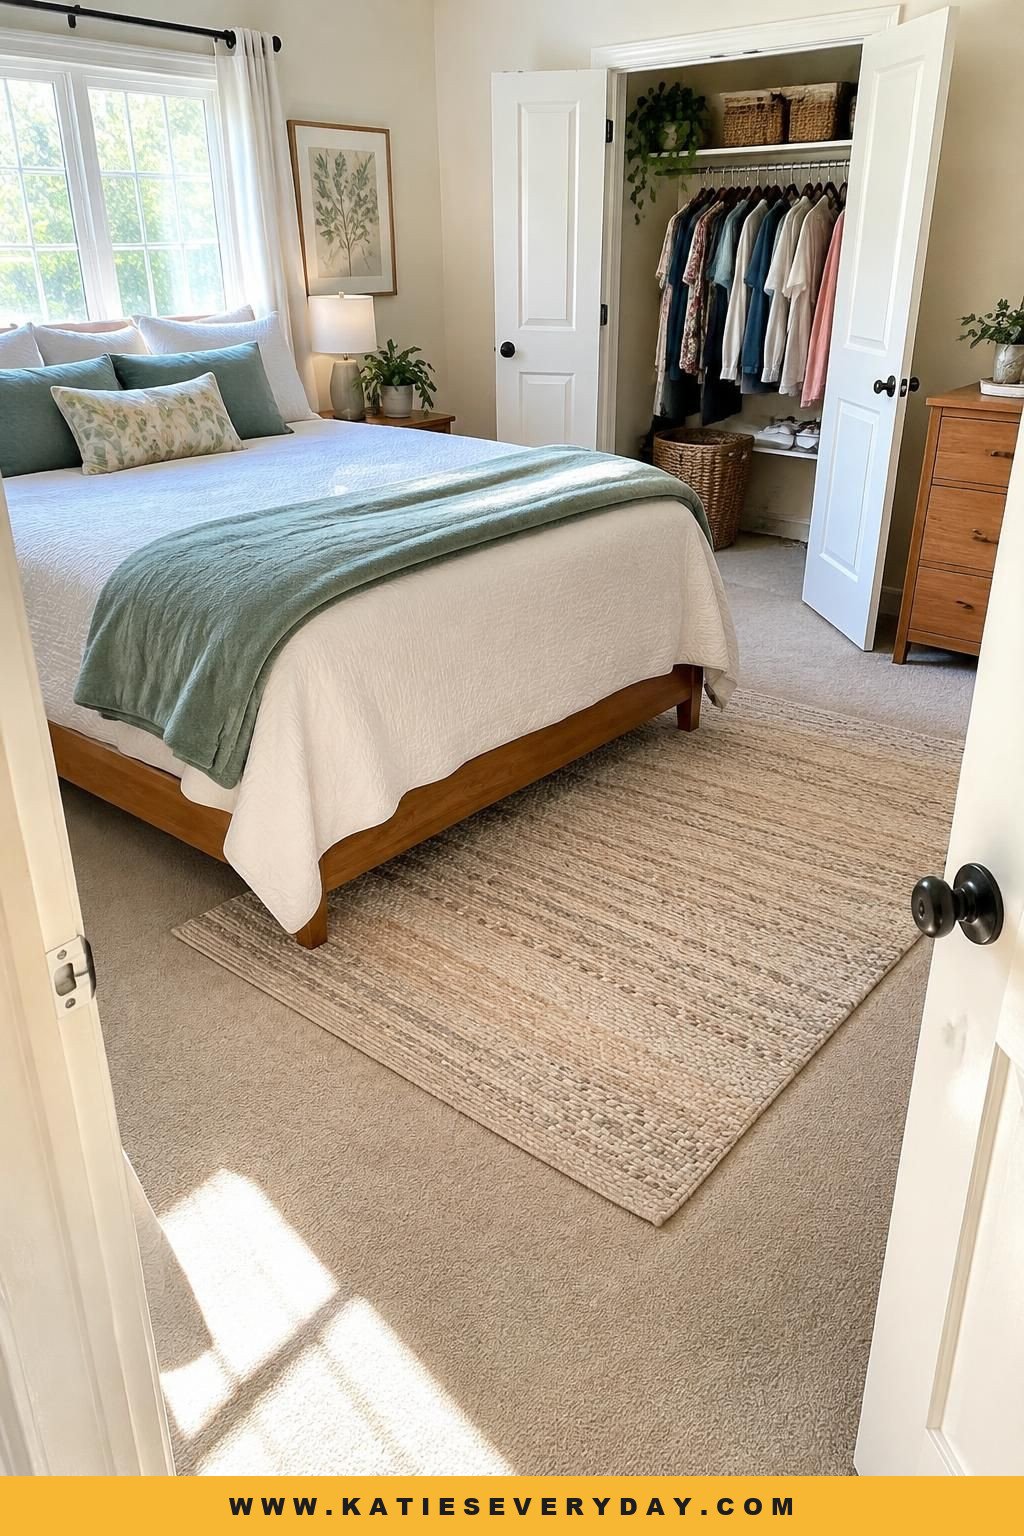
9. Angle the bed into an awkward corner
Angle the bed only when an irregular corner, attic slope, or angled wall makes a straight placement less workable. The diagonal can make an awkward area feel intentional and leave a more open patch elsewhere. If the wedge behind the headboard remains reachable, use it for a small corner shelf; don’t count it as walking space. This arrangement takes up more floor area than a straight placement and can waste space. Compare both positions on a sketch, especially if the diagonal narrows your route to the closet.
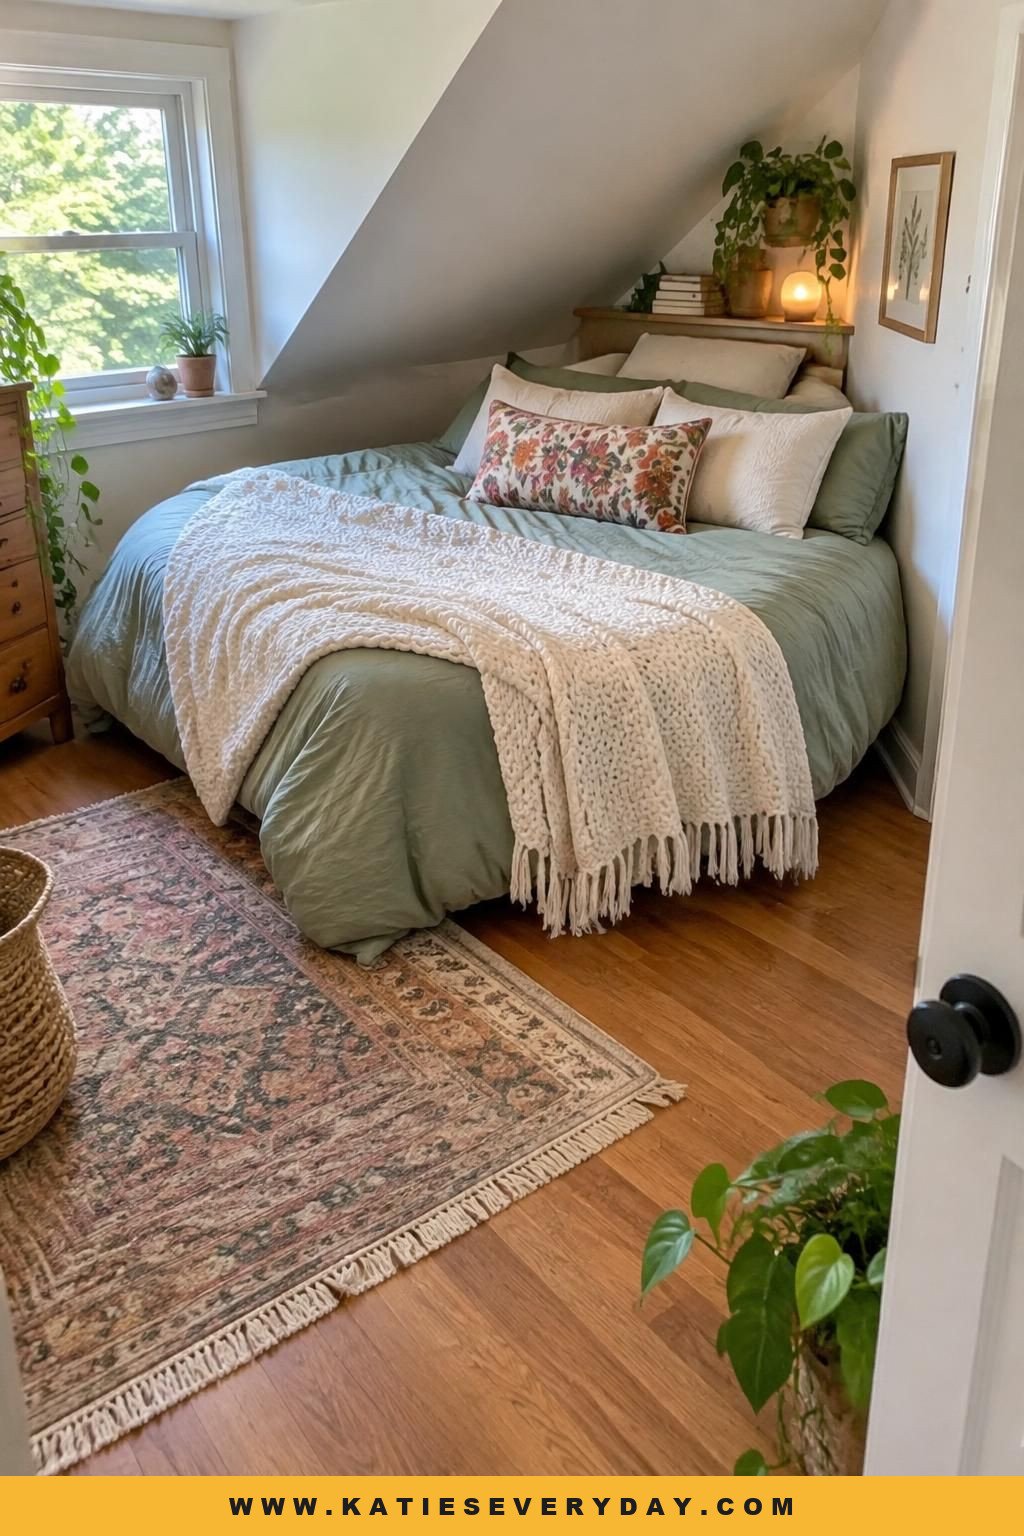
10. Combine a desk and bedside surface
Put a small desk beside the bed, or use the desk as the bedside surface, if its chair can pull out without blocking your main route. Combining the two functions can leave another wall free for a dresser or wardrobe. Try the desk at the bed’s open side, then check the chair’s pulled-out footprint against your path to the door. This layout is a poor fit if the chair blocks access or work items spill into the sleep area.

11. Give a large room a separate sitting zone
Anchor the bed on one wall, then group a chair with a small table—or a settee—in a separate part of the room. A defined seating area gives extra floor space a purpose instead of leaving furniture scattered around the edges. Mark the zone with a rug or a change in lighting, while keeping the route between the entry, bed, and closet open. Don’t add seating just to fill the room if it narrows the route you use every day.

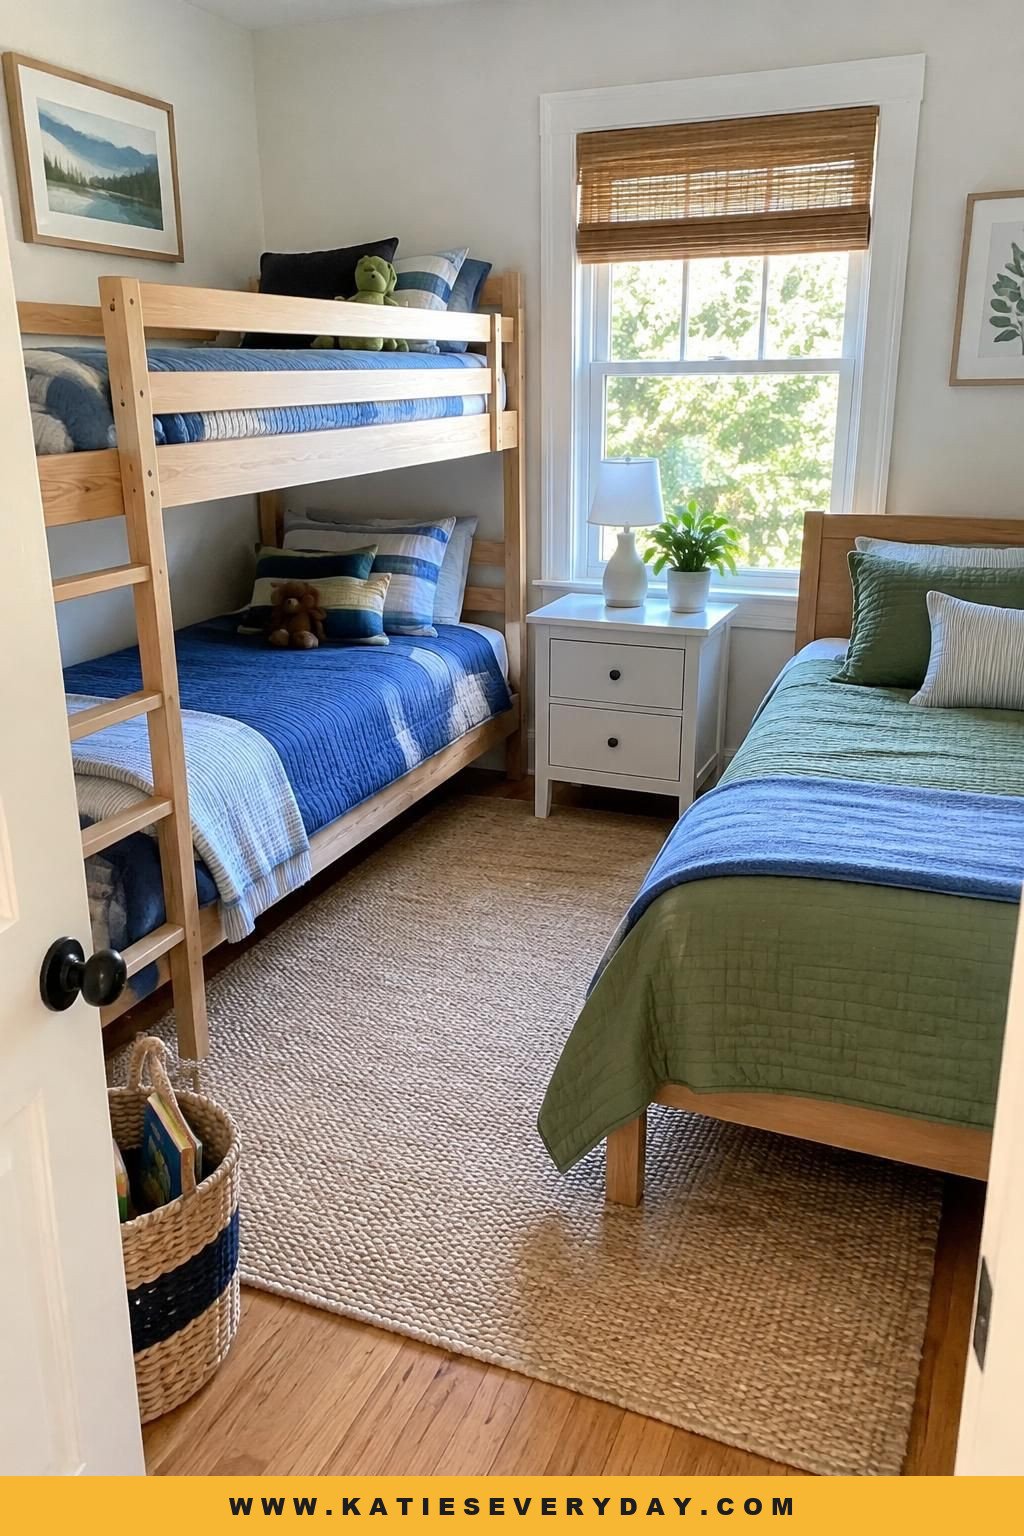
12. Arrange a bunk bed and twin in an L
For a guest room used by children or for sleepovers, place a bunk bed along one wall and a twin perpendicular to it, forming an L. This arrangement can provide more sleeping places without lining every bed along one wall. Check that you can reach each bed and keep the central route clear; account for getting in and out, not just the bed frames. This layout won’t suit every small room, so let the available space determine whether it works.
Keep Exploring More Ideas
 21 Modern Simple Bedroom Design Ideas for a Calm, Pulled-Together Room
 17 Bedroom Back Wall Ideas That Make the Bed the Focal Point
 11 Bedroom Aesthetic Ideas With Colors and Details to Copy
 17 Indian Bedroom Design Ideas That Balance Tradition and Modern Style
 19 Small Bedroom Ideas That Make Every Inch Work
 14 Minimalist Bedroom Ideas That Feel Warm, Not Empty
 13 Bedroom Ideas for Couples That Feel Personal to Both
 9 Bedroom Design Styles and the Details That Define Them
 19 Small Living Room Ideas That Make Every Inch Work
 13 Compact One- and Two-Bedroom House Plans to Compare
 19 Simple and Modern Bedroom Ceiling Designs to Consider
 17 Black and White Living Room Ideas With Balanced Contrast
See more Bedroom Ideas →