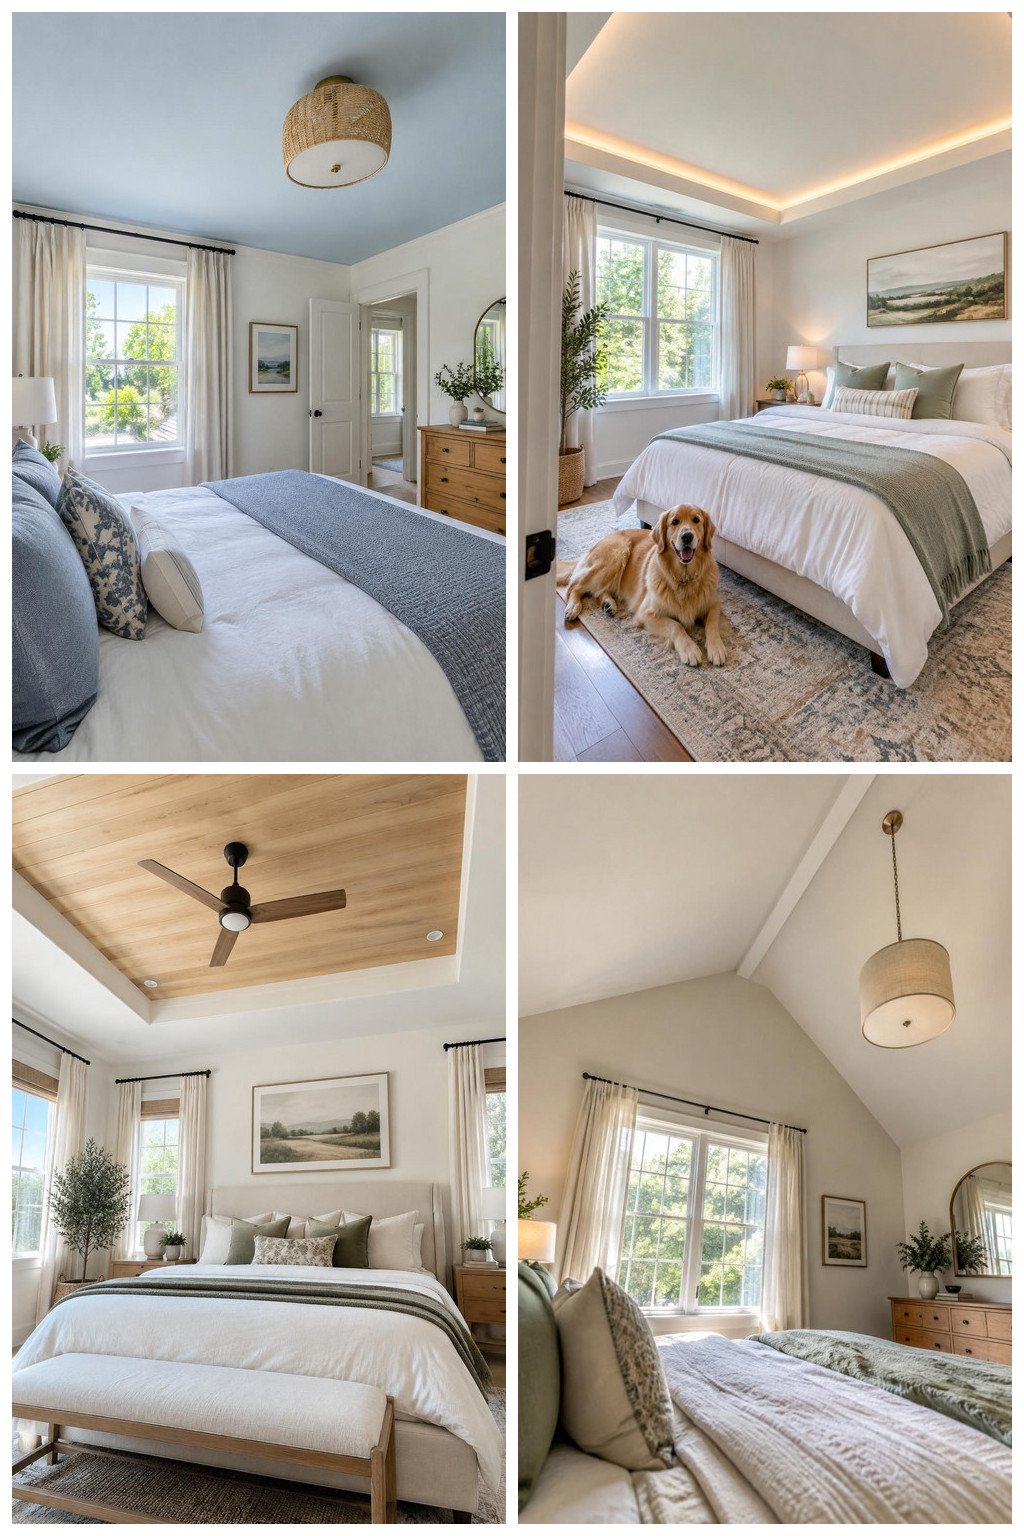
Choosing a bedroom ceiling design means balancing the look you want with your room’s height, proportions, existing features and lighting needs. A dropped or layered profile can add detail, but it also changes the ceiling and needs to suit the space you have. Quick shortcut: preserve headroom with a flat ceiling, mark the bed with a partial panel, choose a shallow cove for indirect light, or work with an existing tray, vault or slope.
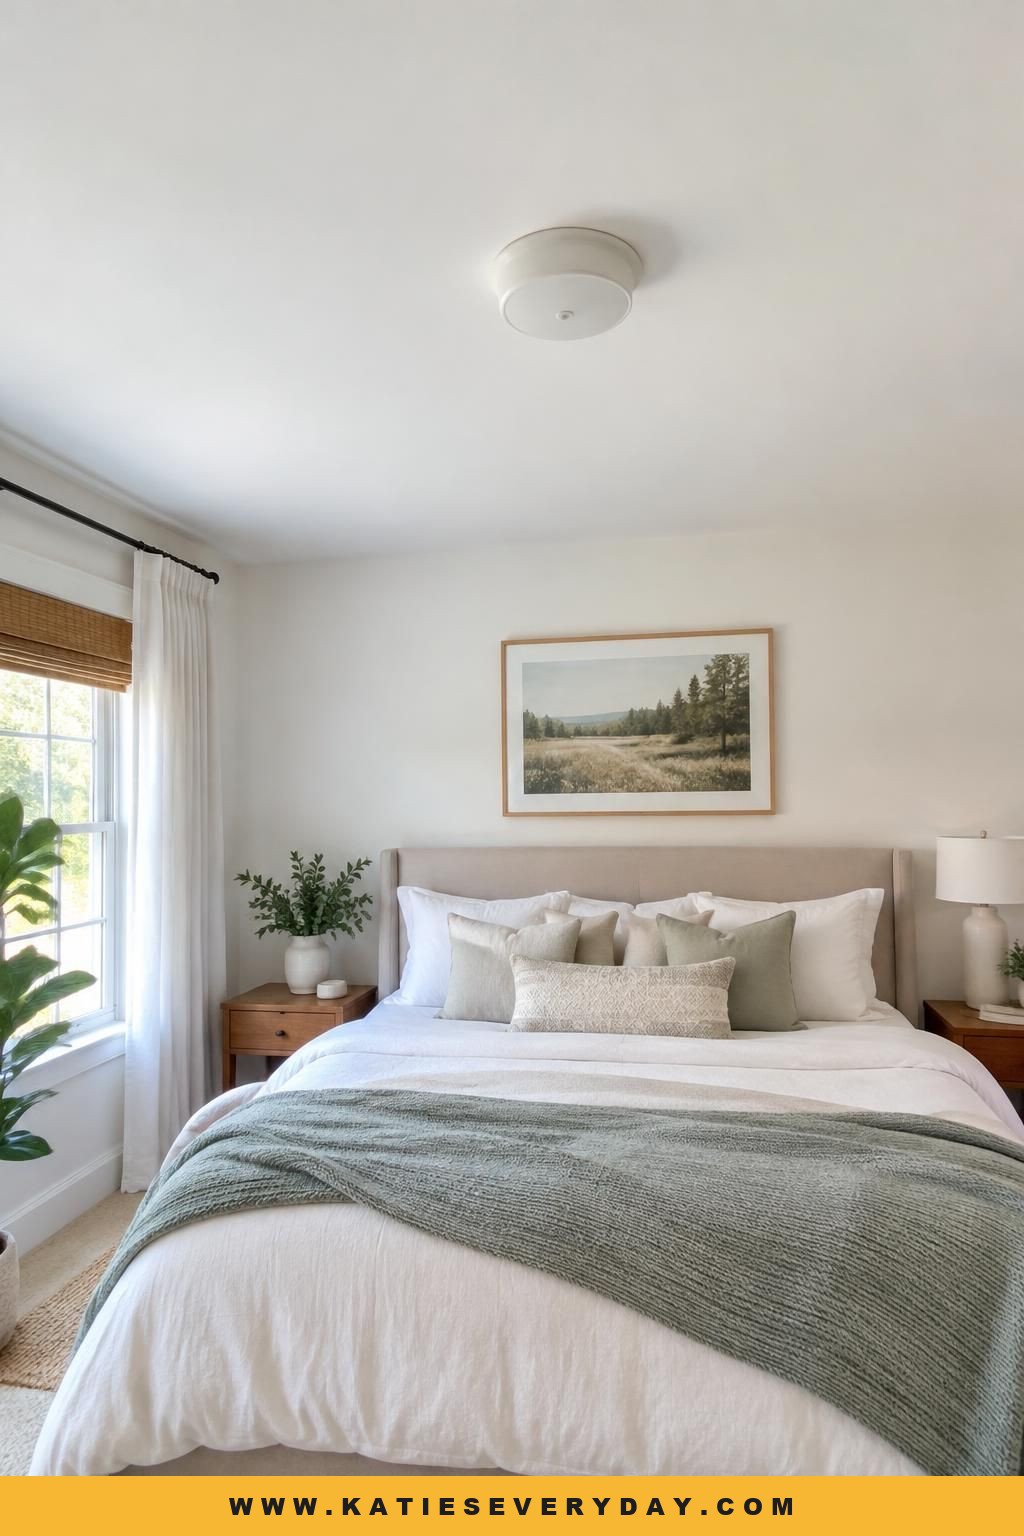
1. Crisp Flat White
Keep the ceiling smooth and white, with one simple flush-mount fixture. The uninterrupted plane keeps attention on the bed and walls, making this a straightforward choice for a low ceiling, visually busy room or bedroom with strong wall décor. Choose the fixture after checking its scale against the bed. This option preserves the existing ceiling shape but adds little architectural detail.
2. Wall-to-Ceiling Color Drench
Paint the flat ceiling the same muted color as the walls and use a simple central fixture. Carrying the color across the corner creates a more continuous look. Test the shade in daylight and at night before committing; a color that works on the walls may feel too enveloping overhead. Choose this when your ceiling is in good condition and you want a calm, coordinated palette.

3. Soft Tint Over White Walls
Keep the walls light and paint the flat ceiling a subtle warm beige, pale blue-gray or muted green. This adds color overhead without adding a profile or pattern. Coordinate the tint with a visible textile or wood tone, and test a large sample in the room: a color can read differently across a full ceiling than on a paint card. Choose this when you want a restrained color accent.

4. Slim Perimeter Molding
Add narrow, uncomplicated molding around the edge of a flat ceiling and paint it to match. The outline gives the ceiling a finished edge without creating another level. Keep the profile simple for a modern look. Consider the trim already in the room before adding more; decorative molding can clash with very minimal or ornate existing details. Use this for a modest architectural touch, and check that the room has enough height for visible trim.

5. Large-Scale Linear Ceiling Grid
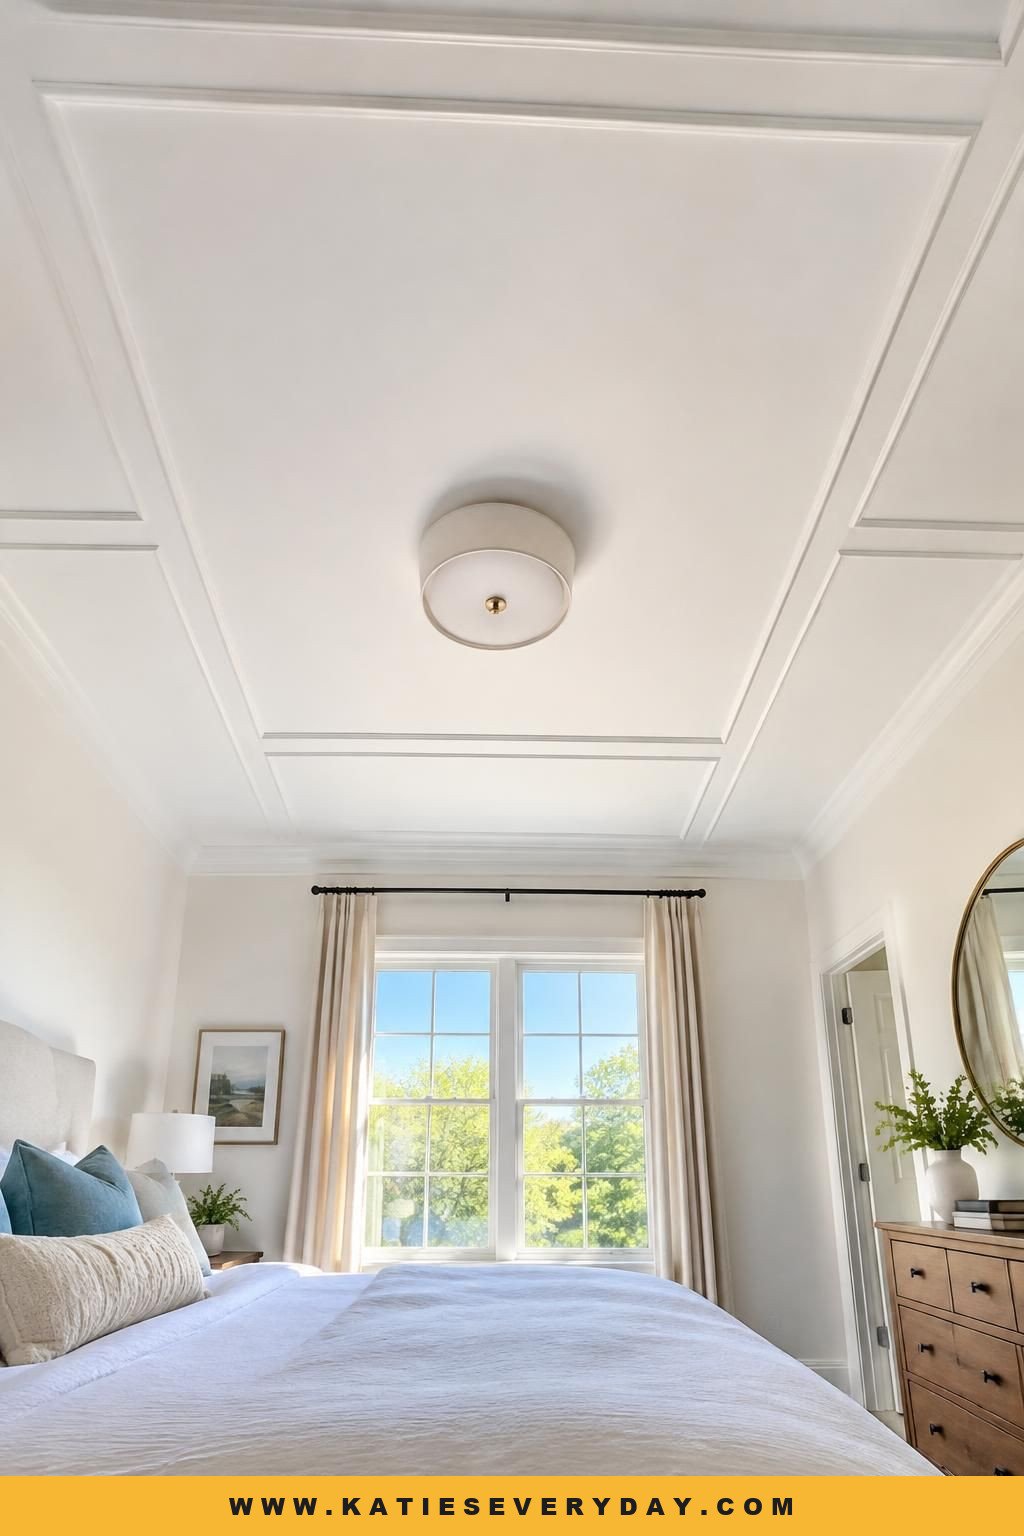
Use thin molding to make a few large rectangles on a flat ceiling, all in one color. Align the shapes with the bed and the room’s main axes. Broad geometry adds structure without the more substantial profile of a coffered ceiling. Avoid many small boxes, especially if your bedding or flooring is patterned; too many lines can make the ceiling feel busy.
6. Surface-Mounted Linear Lights
Keep the ceiling flat and use one or two slim surface-mounted light bars along the room’s main axis. Plan their placement around the bed and walking paths rather than centering them by habit. Check that the light output and glare suit both practical tasks and bedtime. The fixtures remain visible, unlike concealed cove lighting.

7. Low-Profile Fan and Light
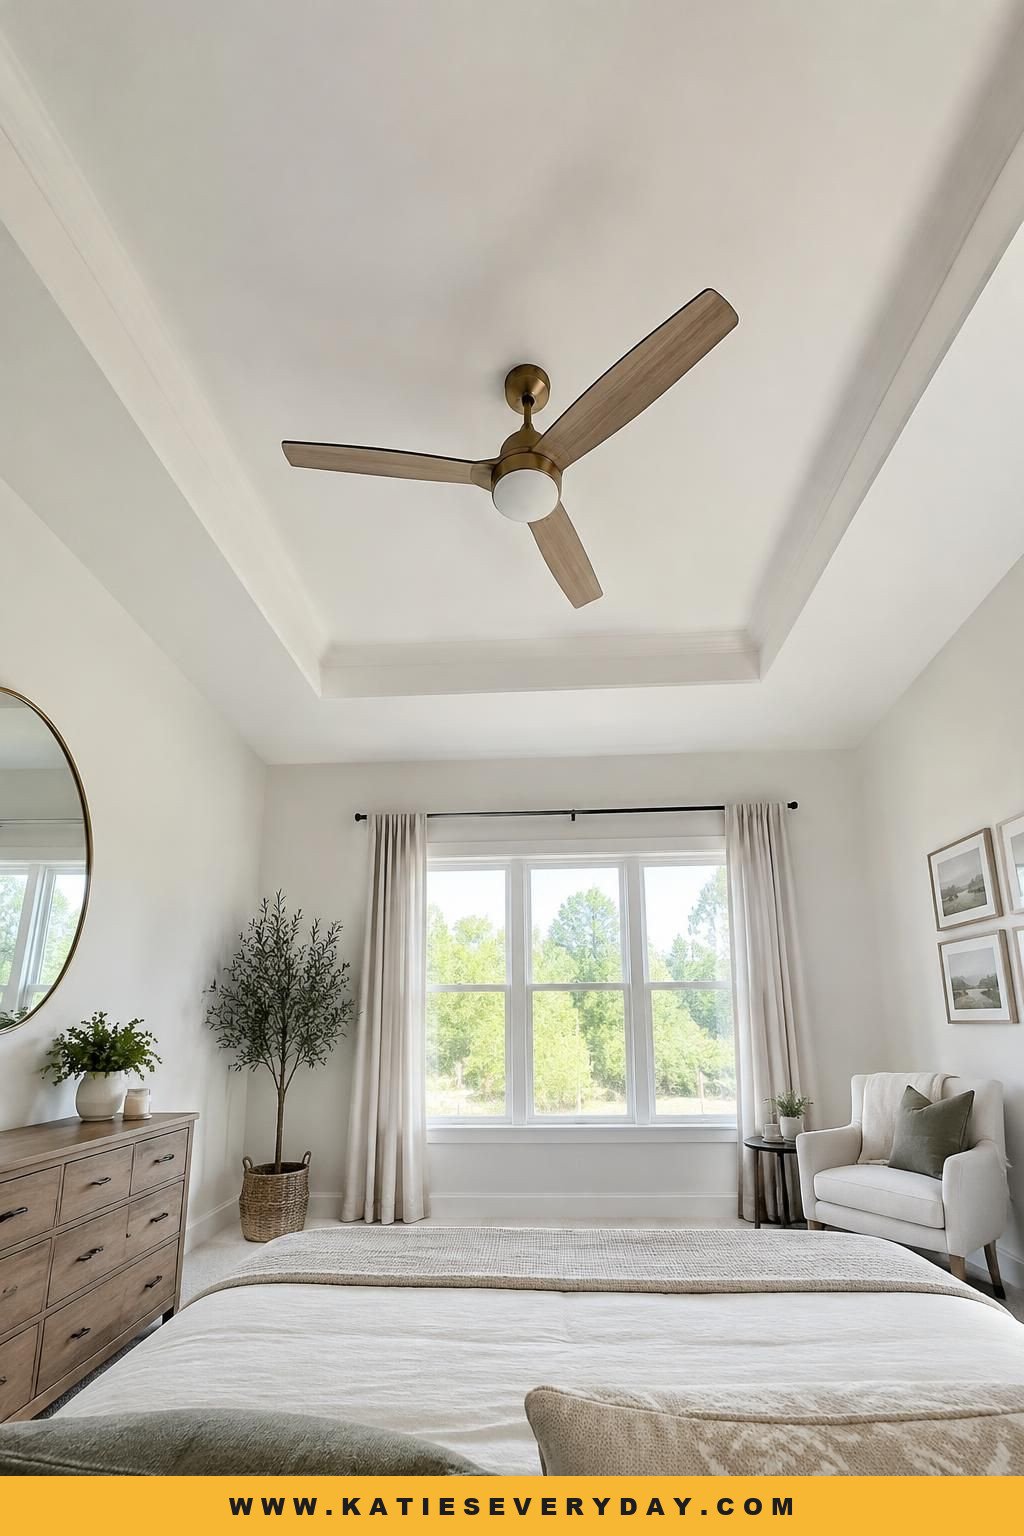
Choose a compact ceiling fan for a flat ceiling, adding an integrated light only if it fits your lighting plan. Decide whether the fan’s light will be a primary light source or whether separate lamps will handle bedside use. Check the fan’s fit and installation requirements for your actual ceiling before choosing it. This option suits a room where air movement matters and a dropped ceiling is not wanted.

8. Headboard-Zone Floating Panel
Add a shallow rectangular ceiling panel only above the bed, in a color that matches the wall or upholstery. Center it on the bed rather than automatically on the room. A panel that is too small or off-center can look accidental, and even a shallow one uses some headroom. Choose this when the bed should be the focal point but a whole-room treatment feels excessive.

9. Shallow Perimeter Cove
Build a simple perimeter band with concealed lighting, leaving the center plane open. The indirect light washes the ceiling rather than showing a fixture at the center. Check the proposed drop against the actual ceiling height, and plan access to the LED driver. If you want dimming, verify that the LED product and dimmer are compatible. Choose a cove when you have adequate clearance and want soft ambient light.

10. Single-Level Tray in One Color
Use one rectangular tray profile, painting the tray, border and surrounding ceiling the same shade. The change in depth supplies the detail while the color stays quiet. Orient the tray’s long dimension with the room’s long axis. A tray requires construction and can feel disproportionate in a low room, so check the available height before planning one.
11. Tray with a Fine Contrasting Edge
Keep the tray interior light and give only its narrow edge a soft taupe, blue-gray or wood-coordinating neutral. This defines the tray without making the whole ceiling bold. Sample the edge color beside your actual wall color and wood finishes. Too much contrast can make the ceiling feature dominate, so keep the difference subtle if you want definition rather than a dramatic focal point.
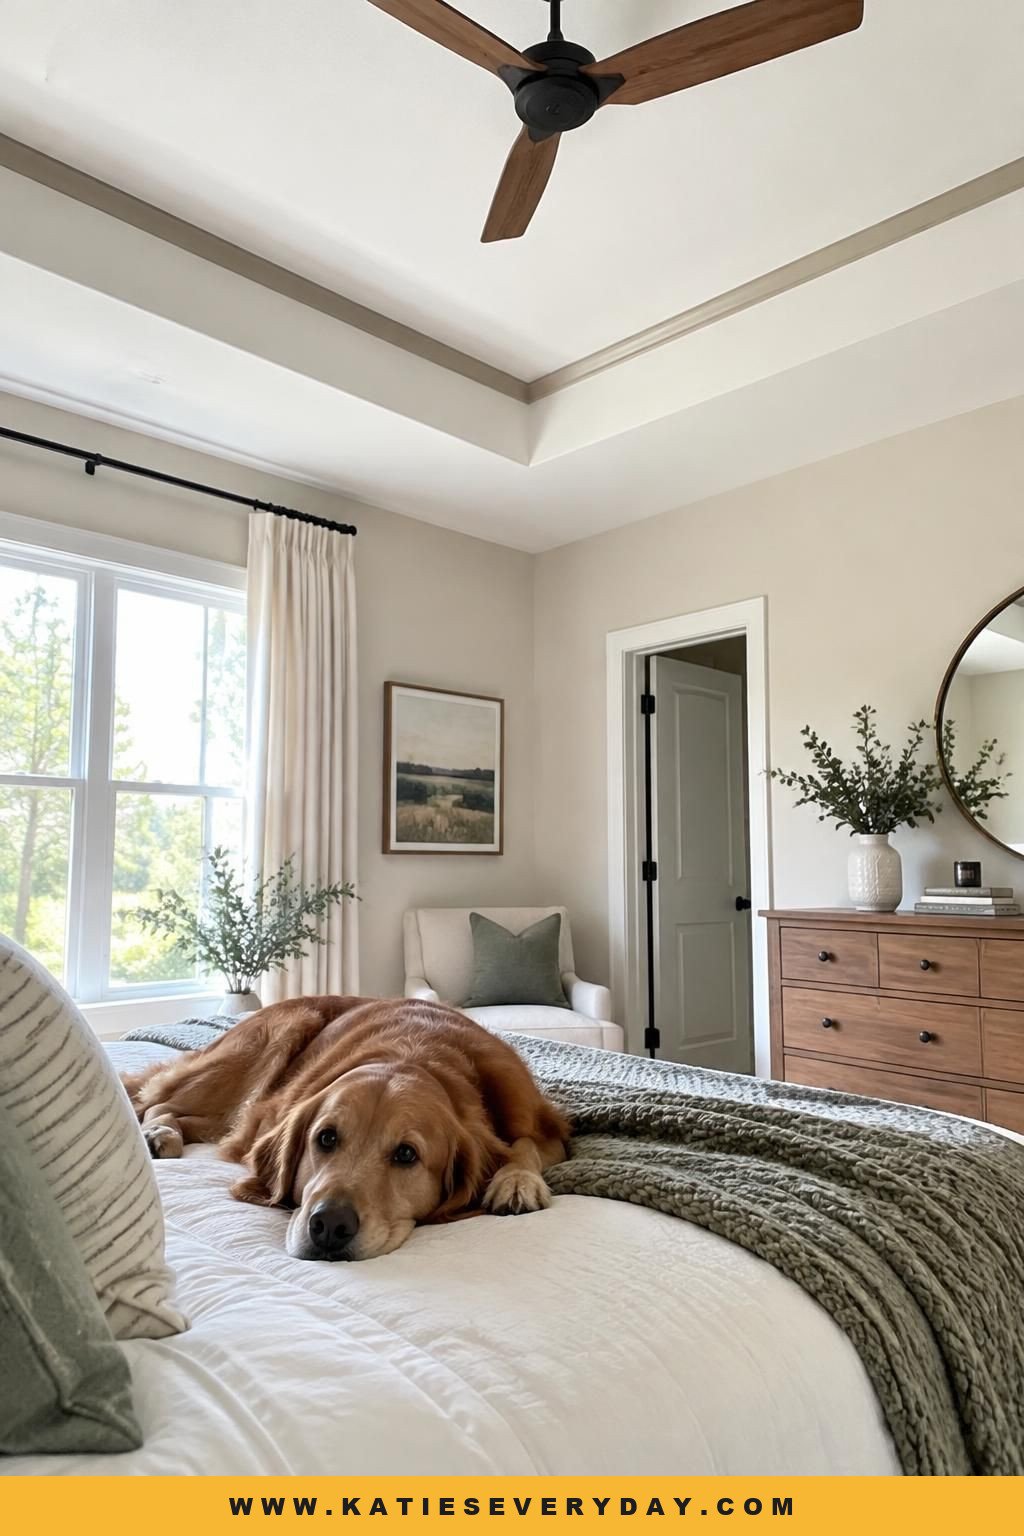
12. Tray with Concealed Cove Light
Add concealed lighting inside an existing tray and keep the surrounding ceiling plain. If the installation allows, put the cove and any central fixture on separate controls. Check LED-and-dimmer compatibility and plan access to the driver. Cove lighting provides ambient light; don’t assume it will replace useful task lighting. Choose this when you want layered light and have enough ceiling height.

13. Wallpapered Tray Interior
Apply a small-scale geometric, subtle botanical or textured-look wallpaper inside an existing tray. Keep the walls and bedding comparatively simple so the pattern has room to read. Match the pattern’s direction to the tray and room axes, and check that the wallpaper is suitable for the ceiling surface. Ceiling installation is less forgiving than testing a small sample on a wall.
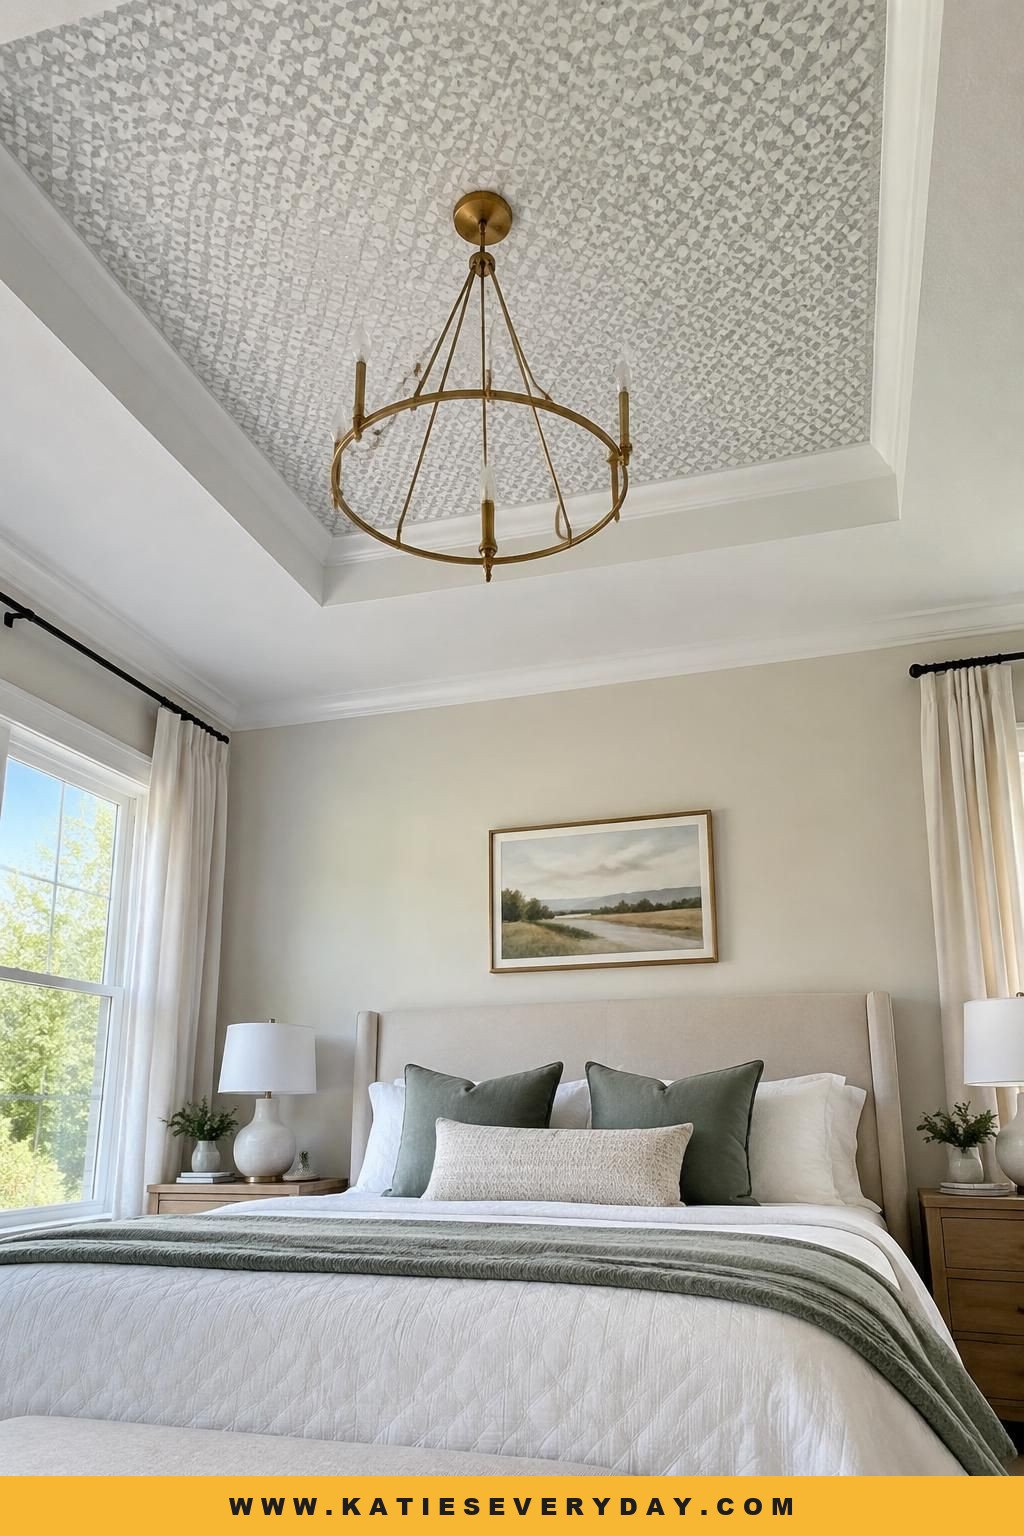
14. Light-Wood Tray Inlay
Line the inner tray with light oak- or ash-look boards or panels, leaving the outer ceiling white or warm white. Run the boards parallel to the bed’s long side and relate the finish to wood already in the room. Real wood, veneer and printed panels differ in finish, maintenance and cost, so don’t treat them as interchangeable. This design needs an existing or planned tray.

15. Slim Beams Across a Tray
Add a few narrow, evenly spaced beams inside a tray, with a finish that relates to the bed or floor. Regular spacing and a visually light profile keep the lines from overwhelming the recess. Heavy or numerous beams can dominate a modest room. Choose this when you have enough ceiling height and a simple furniture layout.

16. Parallel Slender Beams on a Flat Ceiling
Install a few slim painted or wood-finish beams across an otherwise plain ceiling. Decide whether they should run along or across the bed, based on the direction you want to emphasize. Keep the rest of the room visually quiet so the beams don’t compete with patterned bedding or flooring. Confirm that the installation is feasible, and don’t treat decorative beams as structural.
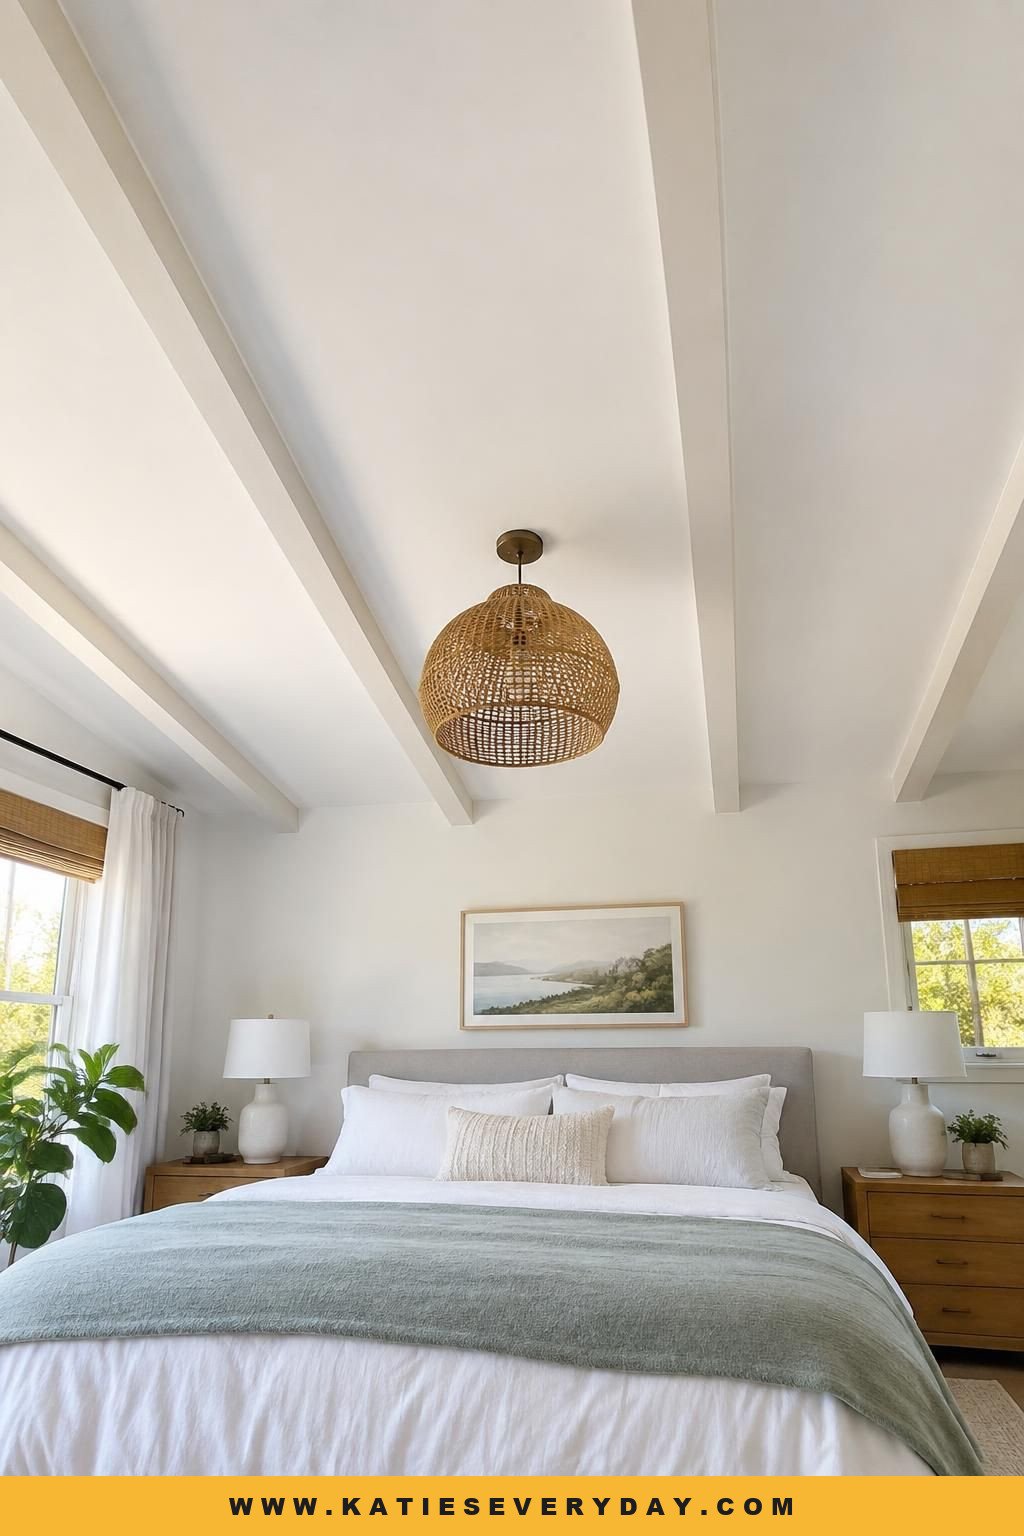
17. Restrained Coffered Grid
Create a broad, shallow grid with simple beams or molding, all in one ceiling color. A coffered ceiling uses a grid of repeated sections, unlike a tray’s single large recessed area. Choose fewer, larger sections rather than many small squares. This is a substantial visual and physical treatment, so it may not suit a low ceiling or a room that already has prominent patterns.

18. Follow the Existing Vault or Slope
Keep an existing vault or slope visible; paint it a light neutral or use restrained boards that follow its shape. Work with the ceiling’s existing form rather than covering it with a flat profile. Plan any pendant or fan for the actual slope and fixture position. Don’t assume a layout designed for a flat ceiling will transfer directly to a sloped one.

19. Tonal Wood-Slat Ceiling
Use narrow wood slats across the ceiling, with a quiet wall palette and restrained lighting. Decide whether the slats should run lengthwise or widthwise before ordering or installing them. This is a high-coverage finish that can compete with prominent wood floors or furnishings. Check the installation requirements and choose it only if the room can carry a strong overhead material.

Keep Exploring More Ideas
 19 Small Living Room Ideas That Make Every Inch Work
 13 Compact One- and Two-Bedroom House Plans to Compare
 17 Bedroom Back Wall Ideas That Make the Bed the Focal Point
 17 Black and White Living Room Ideas With Balanced Contrast
 21 Living Room Decor Ideas for a More Pulled-Together Room
 13 Living Room Aesthetic Ideas With Colors and Details to Copy
 12 Bedroom Layout Ideas for a More Usable Room
 9 Bedroom Design Styles and the Details That Define Them
 11 Bedroom Aesthetic Ideas With Colors and Details to Copy
 13 Bedroom Ideas for Couples That Feel Personal to Both
 19 Small Bedroom Ideas That Make Every Inch Work
 14 Minimalist Bedroom Ideas That Feel Warm, Not Empty
See more Ceiling Design →